How to Create an Interactive Map in WordPress with Interactive Geo Maps
In this article, you will learn how to create a beautiful and functional interactive map using the Interactive Geo Maps plugin, allowing users to click on any region or province and be redirected to the desired page.
Why Do You Need an Interactive Map on Your Website?
Display Service Areas
Showcase Branches and Offices
Link to Separate Pages for Provinces or Countries
Enhance User Experience
🧩 Step 1 – Install the Plugin
In your WordPress dashboard, go to: Plugins → Add New
In the search bar, type: Interactive Geo Maps
Find the plugin with this name (by Carlos Moreira) and install and activate it.
🗺️ Step 2 – Create Your First Map
From the WordPress menu, go to: Interactive Maps → Add New Map
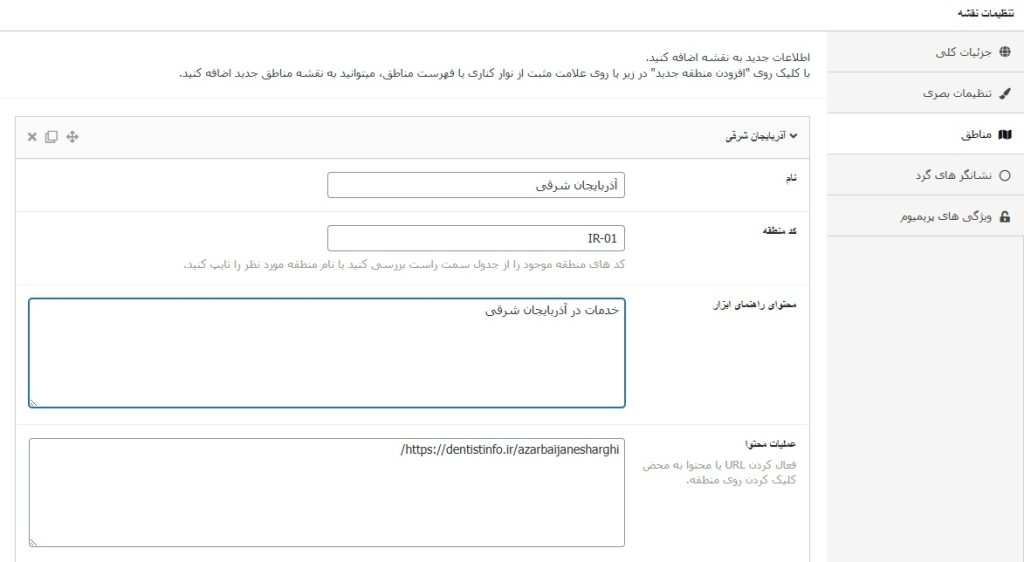
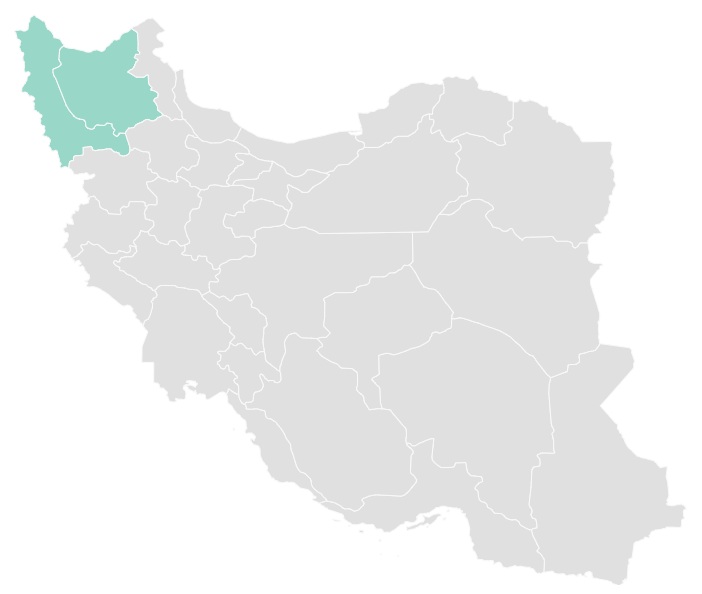
In the Map Source section, select the country Iran.
In the Regions section, a list of Iran’s provinces will be displayed. For each province, you can configure:
Name: The province name
Color: The section color
Link: The URL or internal shortcode link to the page or post
Tooltip: A short description that appears on hover
🔗 Step 3 – Add Links to the Provinces"
Create a page or post in WordPress for each province (e.g., /isfahan, /fars, /tehran, etc.). In the Link field for each province, enter the URL of that page.
Note: If you want the link to stay within your website, use an internal shortcode link, like: /isfahan
📋 Step 4 – Insert the Map into a Page
After saving the map, the plugin will provide you with a shortcode, for example:
[interactive_map id=”123″]
Copy this shortcode and paste it into any page or post where you want the map to appear.
Conclusione
When a user clicks on any province, they are redirected directly to the page for that province ✅ For example: